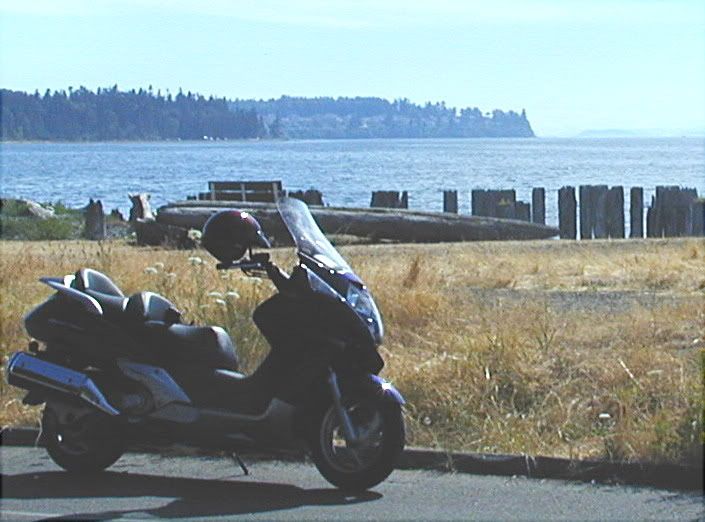
Post by tedsmini on Sept 22, 2004 1:30:07 GMT -5
Remove seat/frame. 6 bolts, remove rear two and forward upper two, the bottom bolts sit in slots in the seat frame which makes it easier and safer for the paint to pivot and remove. Remove the engine cover/floorboard assy. Four main bolts, 2 phillips screws on each side of floorboard, one is a machine screw and the little angled one is self tapping. Remove the battery/dash rear cover 4 machine screws as there is a sliding bracket that you need to deal with when removing /replacing the floorboard. Remove three screws holding the airbox to the frame, two plated ones on the side and a black one on top. Loosen the clamp that attaches the airbox to the carb, now you can swivel the airbox up enough to access the bottom shock bolt. I secured the airbox with a bungee cord. You need a shock adjusting spanner to set the preload. It is a semi-circle with a short handle and a tooth that fits the indents on the shock preload ring. I bought the chrome 270mm shock and it raises the bike about an inch and the tire is not lifted clear of the pavement when on the center stand. I weigh 250 but I doubt the factory shock would be adequate for even a 200 pounder. I have the preload set on the third notch and it feels real good: I cannot bottom the shock. The factory shock is so anemic looking I'm sure it is about a $5 item if that much to produce. The piston cannot be bigger than a small thimble. OEM shocks on most cars are the same, they cost less than $2 to produce and should be tossed immed or after 10K miles at the most. I have been wrenching on cars and bikes for over 50 years now and learned some valuable lessons. The most important items on any bike are the lights/brakes/tires and suspension. After that you can cater to the engine, pipes, custom wheels etc.. Anyone want pix just email. Ride safe and keep the rubber side down 


