
Post by SpoonKiller on May 9, 2005 21:16:45 GMT -5
I take back everything bad that I've ever said about the Post Office!! This thing got here amazingly quick.
Tools you'll need:

Here's the quick install, just replace all of the previously listed tools with some 100MPH tape. J/K

Here is box the windshield came in. Not a single scratch, Chanito did an outstanding job packing it.
Make sure you inspect the content and familiarize yourself with the instructions. The Lexan is shipped with a blue protective coating, go ahead and remove the coating from around the holes in the Lexan. Keep the rest of the coating on the Lexan, this will protect it from mishaps has you adjust it later on.

Here are the brackets and associated bolts. I added the neoprene washers, they're about .25 at your local hardware store and I think they will help protect the Lexan from getting scratched.

Clip the Brake Line Clips onto the frame of the headlights with the flat side facing forward and the holes up.

Loosely install the 8mm bolts in the windshield.
[BOLT][Metal Washer][Neoprene Washer][Lexan][Foam][Bracket][Nut]

Loosen the turn signals with the 14mm open ended wrench. Do not take them out, you just need enough space to slide the bracket in there.


Loosely attach the windshield to the brackets with the 12mm ratchet/socket and 12mm wrench.
Screw the machine screw to the bottom of the windshield, with the washer on the outside.
The windshield should be parallel to the battery cover, once you are satisfied with the position of the windshield begin gently tightening everything. Be carefull not to over tighten, you don't want to end up with a broken windshield this late in the game!


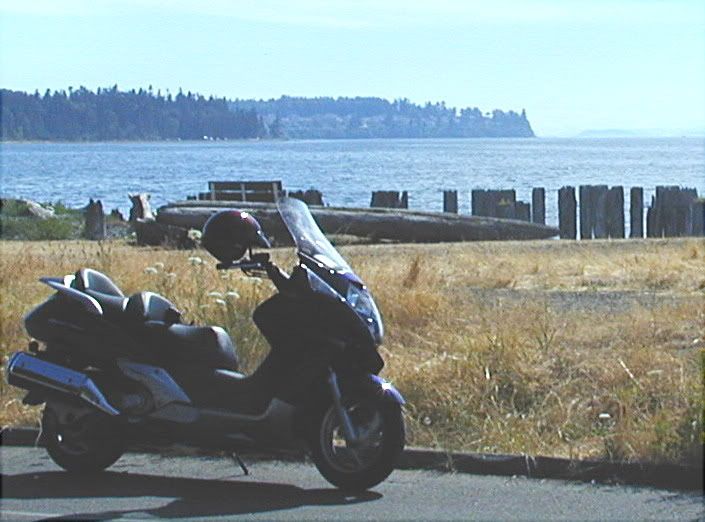
Remove the protective film and clean the Lexan with mild soap. That's it, very simple and easy installation! The pictures don't do the windshield justice. This thing looks awesome, it really complements the look of the Ruckus!


One happy camper, Thanks Chanito! Only bad thing is that it was raining like a mofo outside so I couldn't go for a test ride.

Next step.. tint.
Tools you'll need:
Here's the quick install, just replace all of the previously listed tools with some 100MPH tape. J/K
Here is box the windshield came in. Not a single scratch, Chanito did an outstanding job packing it.
Make sure you inspect the content and familiarize yourself with the instructions. The Lexan is shipped with a blue protective coating, go ahead and remove the coating from around the holes in the Lexan. Keep the rest of the coating on the Lexan, this will protect it from mishaps has you adjust it later on.
Here are the brackets and associated bolts. I added the neoprene washers, they're about .25 at your local hardware store and I think they will help protect the Lexan from getting scratched.
Clip the Brake Line Clips onto the frame of the headlights with the flat side facing forward and the holes up.
Loosely install the 8mm bolts in the windshield.
[BOLT][Metal Washer][Neoprene Washer][Lexan][Foam][Bracket][Nut]
Loosen the turn signals with the 14mm open ended wrench. Do not take them out, you just need enough space to slide the bracket in there.
Loosely attach the windshield to the brackets with the 12mm ratchet/socket and 12mm wrench.
Screw the machine screw to the bottom of the windshield, with the washer on the outside.
The windshield should be parallel to the battery cover, once you are satisfied with the position of the windshield begin gently tightening everything. Be carefull not to over tighten, you don't want to end up with a broken windshield this late in the game!
Remove the protective film and clean the Lexan with mild soap. That's it, very simple and easy installation! The pictures don't do the windshield justice. This thing looks awesome, it really complements the look of the Ruckus!
One happy camper, Thanks Chanito! Only bad thing is that it was raining like a mofo outside so I couldn't go for a test ride.
Next step.. tint.


 Wow! Dandy i am flattered, you thing i can get 10 people to buy my windshield at 50 a pop (that's what it will cost to get a smoked lexan one)